3D print your family: person cards for multi-colour printers
If you have a multi-colour 3D printer, you can now print your family. PeoplePlotr makes a little raised card for anyone in your tree, with their portrait, their name and their years, ready to print in four colours. Make one for Grandma, or a whole plateful for the family reunion, then turn them into keyrings, fridge magnets or place cards.
Where to find it
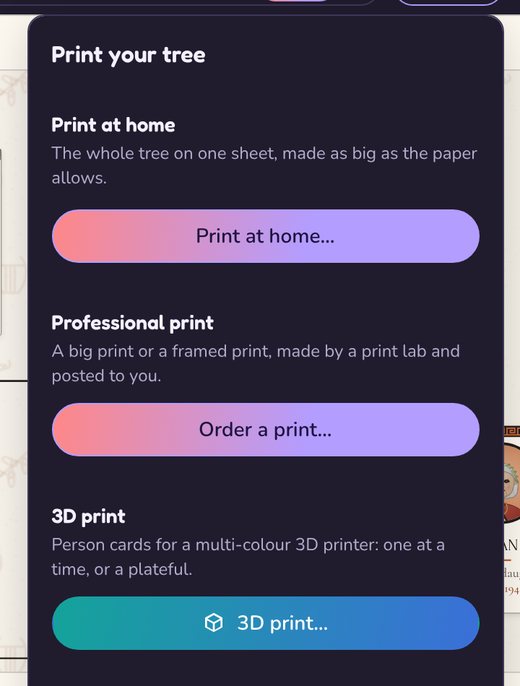
Click Print at the top of the editor. Under 3D print, click the 3D print button.
One card
Pick a person and you'll see the front and back of their card. The front has their portrait, their name and, under the name, either their years, who they are (such as Arthur's daughter) or your words, for a nickname or a message. The back says Made using www.peopleplotr.com
.
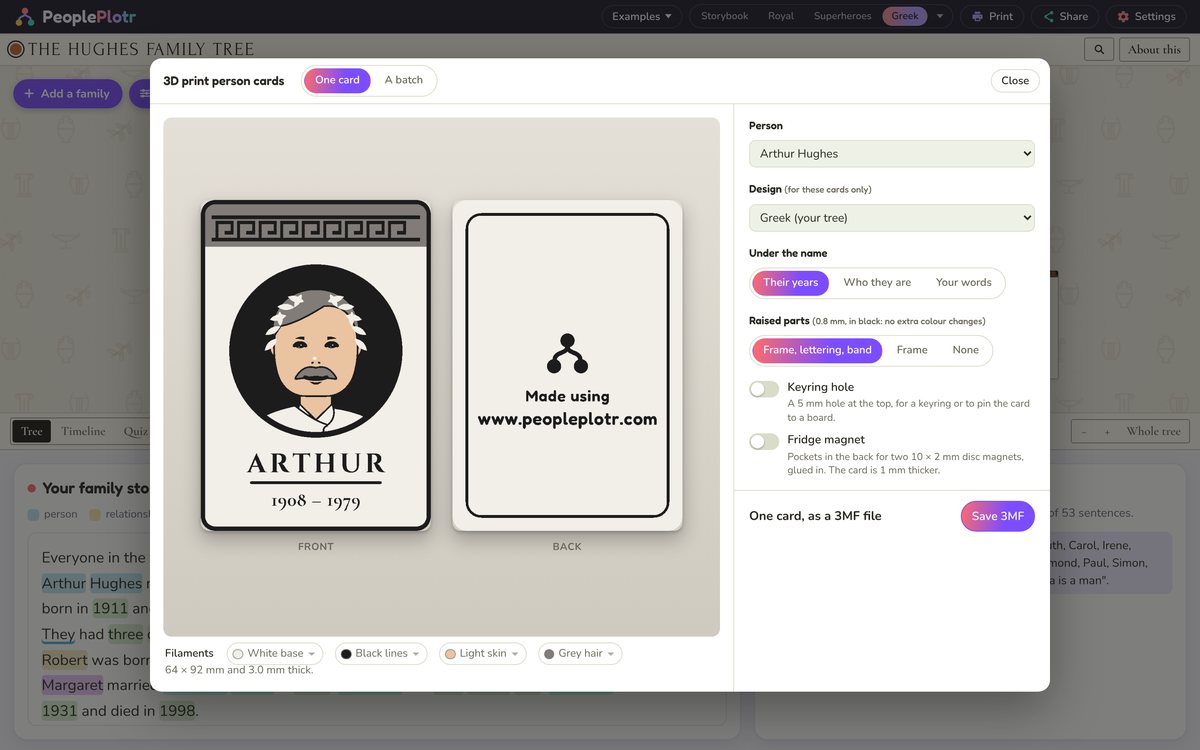
Each card is 64 × 92 mm, about the size of a playing card, and 3 mm thick. It prints in four filaments: a white base, black lines, a skin colour, and a colour for the hair. The portrait is redrawn in just those four colours, so it prints cleanly.
The card uses your tree's design to begin with, but you can pick another under Design (for these cards only) without changing your tree. Greek cards get a key-pattern band, and other designs get a frame of their own, like Storybook's bunting.
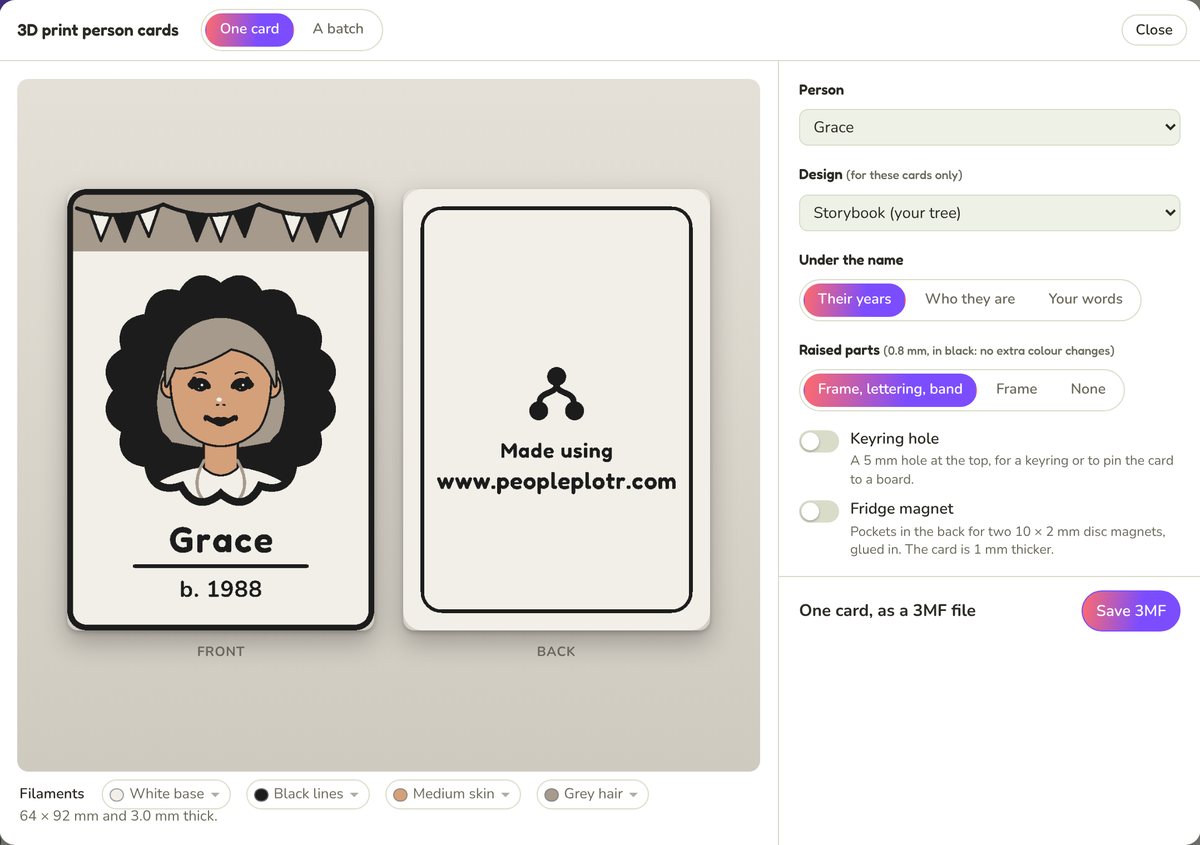
There are a few more choices:
- Raised parts: the frame, the lettering and the band can stand 0.8 mm proud of the card, in black, so you can feel them. They don't add any colour changes. Choose Frame or None for a flatter card.
- Keyring hole: a 5 mm hole at the top, for a keyring or to pin the card to a board.
- Fridge magnet: pockets in the back for two 10 × 2 mm disc magnets, which you glue in. The card is 1 mm thicker.
- Filaments: click a colour under the card to match the spool you've actually got, so the picture shows how it will really look.
Click Save 3MF to save the card as a 3MF file, which opens in most slicers with each colour already a separate part, ready to give each one a filament.
A batch
Click A batch to print lots of people at once. Choose your printer, and tick the people you want (everyone is ticked to begin with). PeoplePlotr lays the cards out on plates that fit your printer's bed, and leaves a corner clear for the wipe tower.
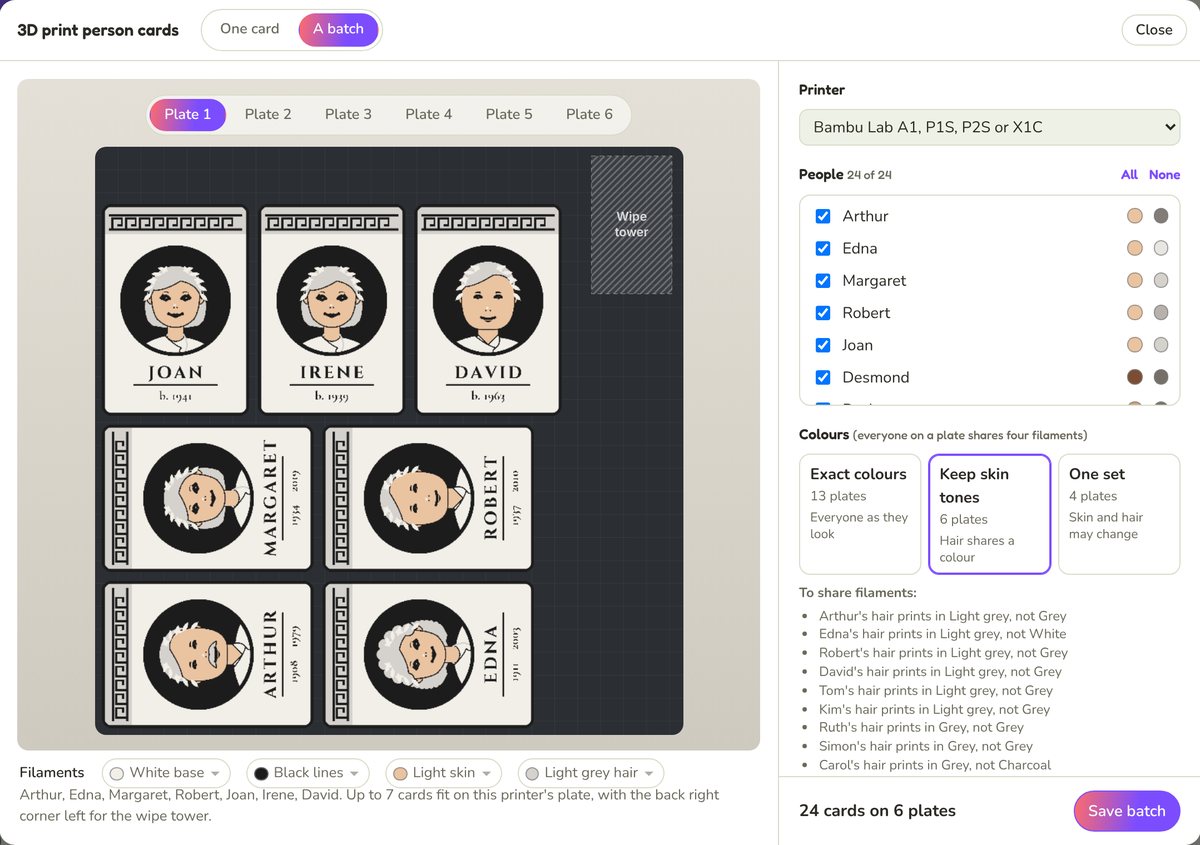
A printer has four filaments loaded at a time, so everyone on one plate shares the same four colours. There are three ways to arrange it:
- Exact colours: everyone looks just as they do on the tree. People with the same skin and hair go together, so there are more plates.
- Keep skin tones: hair can share a colour with someone else's, so a grey and a light grey might print the same. Everyone's skin stays right. The window lists who changes.
- One set: the fewest plates. Skin and hair may change.
For the Hughes family's 24 people on a Bambu Lab A1, that's 13 plates, 6 plates or 4 plates. Click Save batch to save them all.
There are settings ready for the Snapmaker U1; Bambu Lab A1 mini, A1, P1S, P2S, X1C, H2D and H2S; Prusa MK4S and CORE One with MMU3, and Prusa XL; Creality K2 Plus and K2 Pro; Elegoo Centauri Carbon 2; Anycubic Kobra S1; Qidi Plus4; and Flashforge AD5X. For any other printer, choose Another printer and type in the size of its bed.
Printing tips
- The base is 1.6 mm and the colours sit on top of it, 0.6 mm deep, so the colour changes all happen in the top few layers. That keeps the number of colour changes down.
- Print the cards flat, face up, as they come.
- For fridge magnets, the printer leaves the pockets empty. Glue a magnet into each pocket once the card is done.
Saving 3D print cards comes with a free account. Open your family tree, click Print, then 3D print to make your first one.